Installation & Maintenance
Every sensory path arrives ready to install.
We supply easy-to-follow instructions, and a squeegee to help you along the way.
What's Included
Graphics Ready to Install
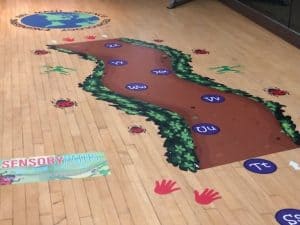
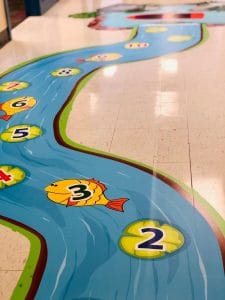
Every package contains printed, laminated and cut sensory path graphics that are ready to be separated and installed to your hallway.
Installation Instructions
Easy to follow from start to finish. Install your sensory path with confidence.
Application Squeegee
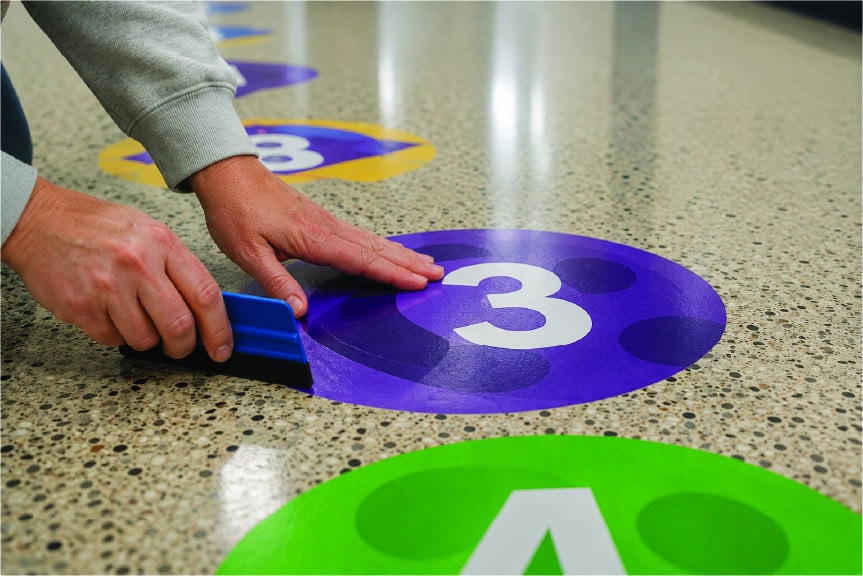
We supply each order with an installation squeegee. This is the tool we use to apply the sensory path graphics to the floor.
Installation is as Easy As...
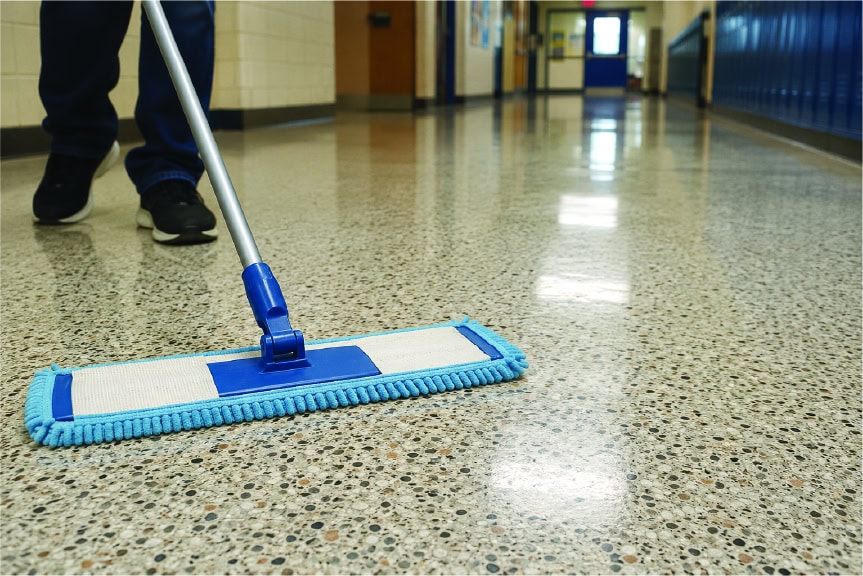
Clean the Floor
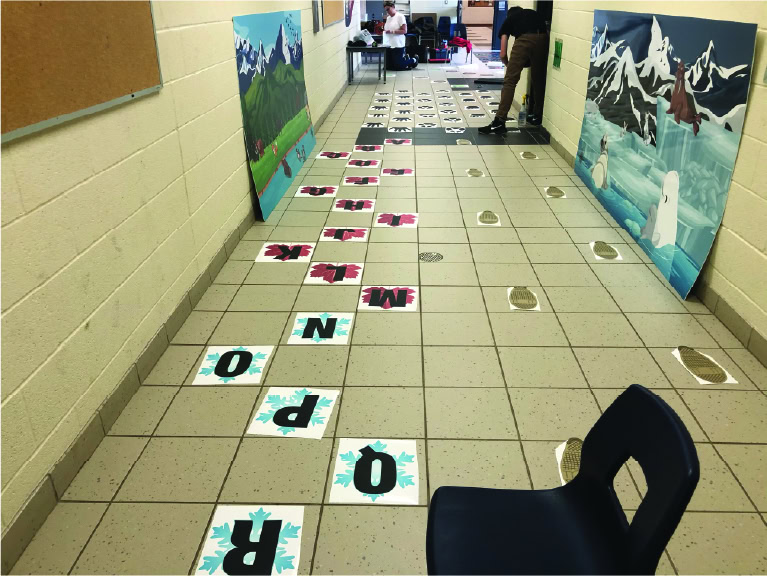
Lay Everything Out
Apply
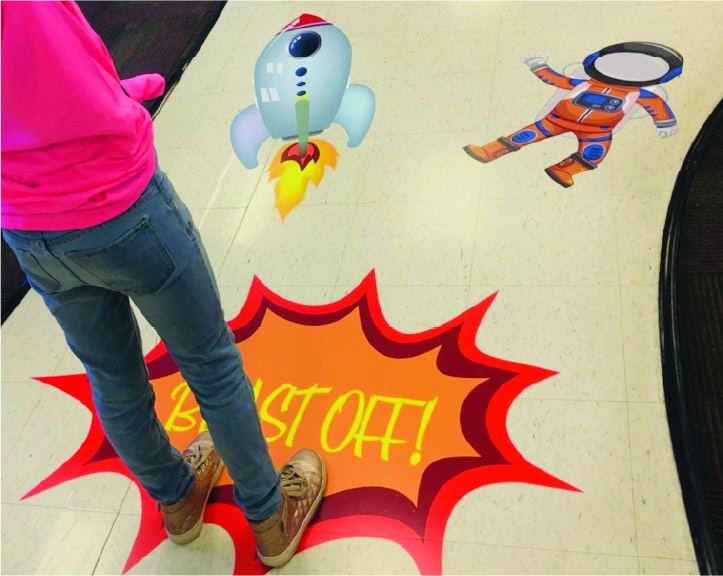
Enjoy
Installation Instructions
Clean the Surface
Before installation of graphics, the floor must be cleaned. Use Isopropyl Alcohol and spray on the surface. Use a lint-free towel and remove all dirt and debris. Failure to remove all dirt will prevent the floor graphics from adhering properly. Allow the Isopropyl to dry. Graphics can then be applied. Ensure that all loose debris (i.e. small stones, fluff, and dust) is completely removed before application as these items will show through the graphic once applied.
Application Steps
- Make sure the area, where you are laying the path, has been cleaned of surface debris and dirt.
- Your graphics will arrive in large sheets. Cut out all sections of your sensory path and lay them out in the hall where you would like them to be applied. This step allows you to see how long or short you’d like your sensory path to stretch down your hall. You can move things around, and look at different options this way.
- When you are set on the locations of the path items, use some Isopropyl Alcohol (minimum 70%) and clean the areas where the graphics are going to be placed.
- Allow the alcohol to completely dry before applying graphics.
- Make sure you have your application squeegee nearby. Place two pieces of green painter’s tape, at the halfway point of the graphic, holding it to the floor. (See Image 1)
- Peel the graphic from the backer-paper to the tape and cut the backer-paper off.
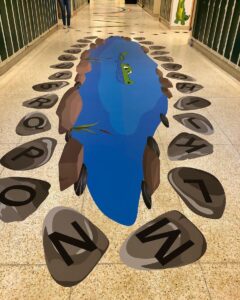
- Holding the graphic off the floor, start from the centre of the graphic and slowly start moving the squeegee from centre to edge working both sides applying the graphics to the floor. Be very careful with any areas that have small pieces hanging off (ex. the branch in the above graphic). Have someone help hold these areas until you are ready to apply them to the floor. Sometimes, applying some painter’s tape over these areas before peeling off the backer-paper can help when you are applying as they will not be as flimsy or loose. (See Image 2)
- Make sure any air bubbles or pockets have been pushed out. You can carefully peel back the graphic from the floor if you need to release an air pocket. If you cannot peel the graphic back without damaging it, use a sharp knife point to poke a small hole where the air pocket is and squeegee any air towards that hole.
- When you have completed the first half, remove the tape that is securing the graphic to the floor. Remove the backer-paper from the other half and apply the graphic to the floor using the same method as previous.
- Repeat the above steps for all graphics included in your sensory paths. For larger graphics, having more than one person to help apply is the best way to ensure the graphics won’t rip or become damaged while applying to the floor.
- For smaller decals – peel the backer-paper off completely and gently place it on the floor where the graphic is to be applied. Starting from the middle, use the squeegee to press the graphic into the floor and push out any air pockets.
- NOTE! Please allow approximately 2-3 days for the graphics to cure on the ground before use, and before waxing over top. To apply wax, start from the centre of the graphic and work your way to the edges. It is recommended that 2-3 layers of wax be used over the top of the graphic to ensure they will not be damaged.
Maintenance Instructions
STEP 6: Peel the graphic from the backer-paper to the tape and cut the backer-paper off.
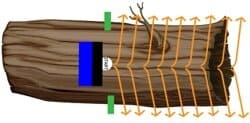
STEP 7: Start from the centre of the graphic and slowly start moving the squeegee from centre to edge.
Installation Tips
Clean Thoroughly
Vacuum, Sweep, Mop and Sweep again.
Thorough cleaning means your sensory path will adhere to the flooring properly and last. Dust and debris can cause graphics to fail early, resulting in replacement pieces.
Plan
Lay everything out before applying to the floor.
This allows you to move items if there are obstacles (doors, water fountains, etc.) before you finally apply the graphics.
Take Your Time
Don’t rush your installation and have extra people to help.
Some pieces are large and require more than one person to help install the graphic. Rushing through your installation can result in air bubbles, creases and other issues down the road.